
Spiced Pear Chutney
This post may contain affiliate links. Please read our Disclosure Policy.
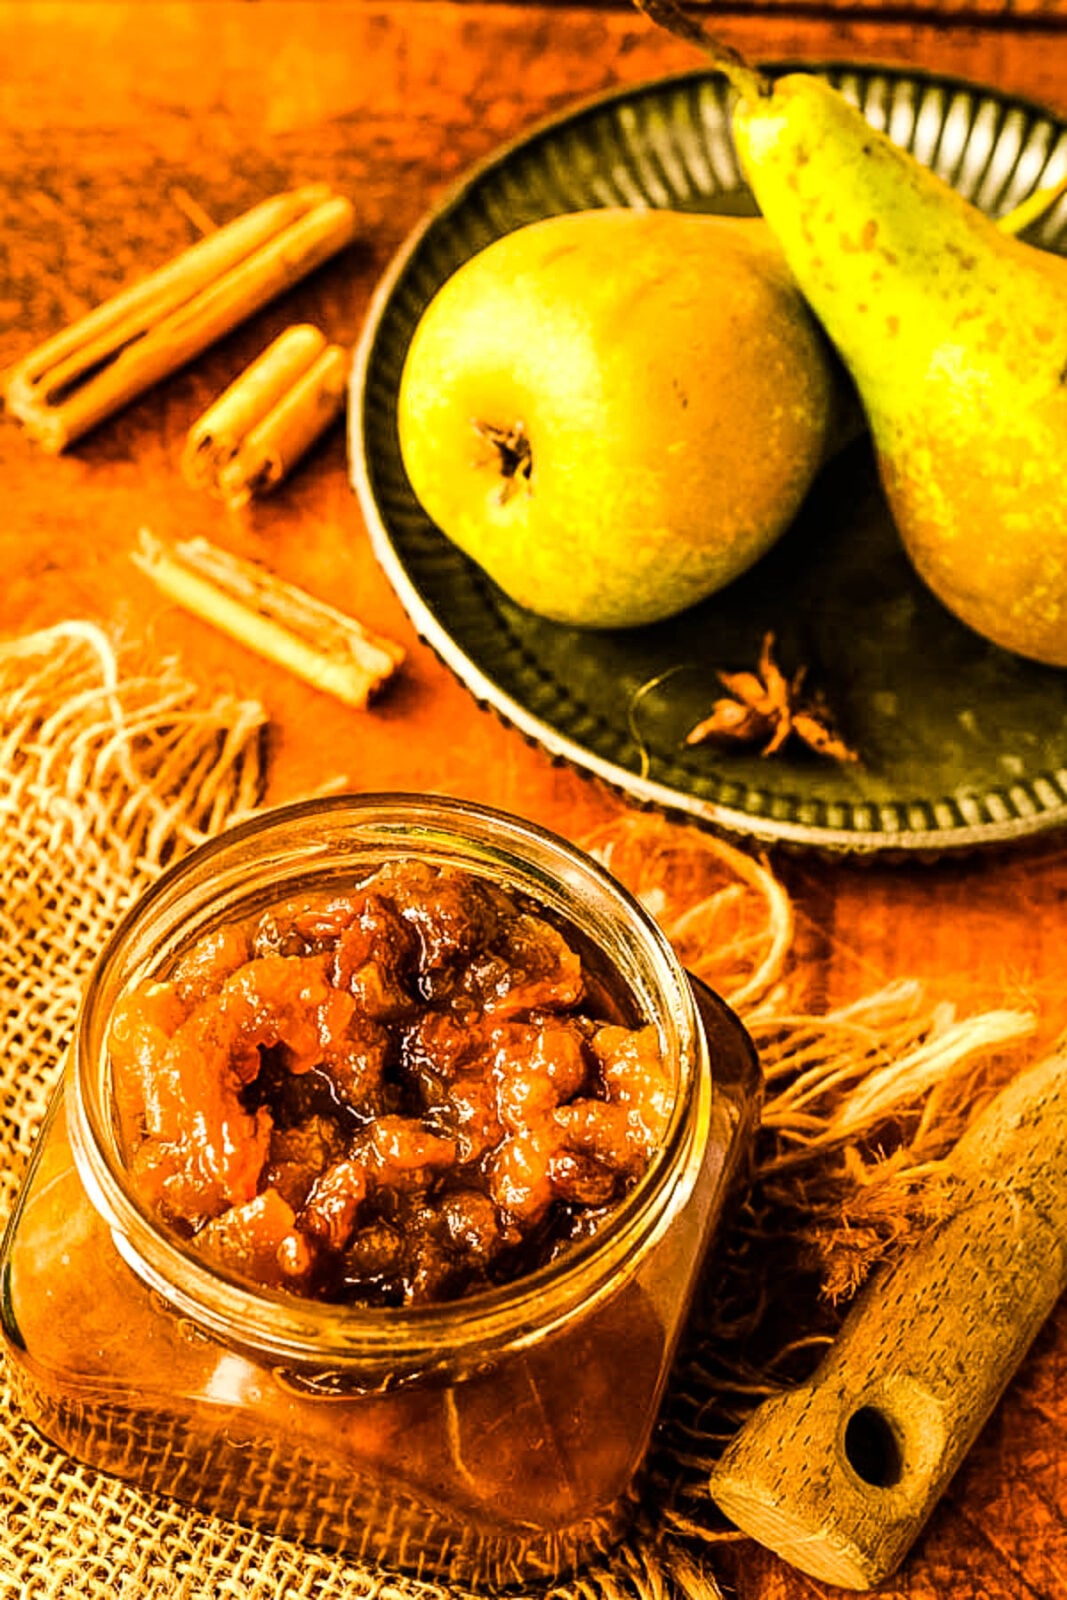
This spiced pear chutney is rich and aromatic with the sweetness of juicy ripe pears and the warming depth of vanilla, cloves and cinnamon.
Why you’ll love this recipe
- Like all my chutney recipes this spiced pear chutney is super easy to make, and who doesn’t love an easy recipe.
- My spicy pear chutney recipe is a great way to use up those extra pears from the garden or lurking in the fruit bowl.
- Homemade chutneys are economical to make, give you extra flavours on hand in the kitchen and can be used to brighten up all sorts of dishes.
I love using pears in jams, pickles and more, in fact my pear liqueur recipe is one of the most popular on my blog. I thought it was high time I added a pear chutney to the repertoire so here you have it.
Ingredients for pear chutney
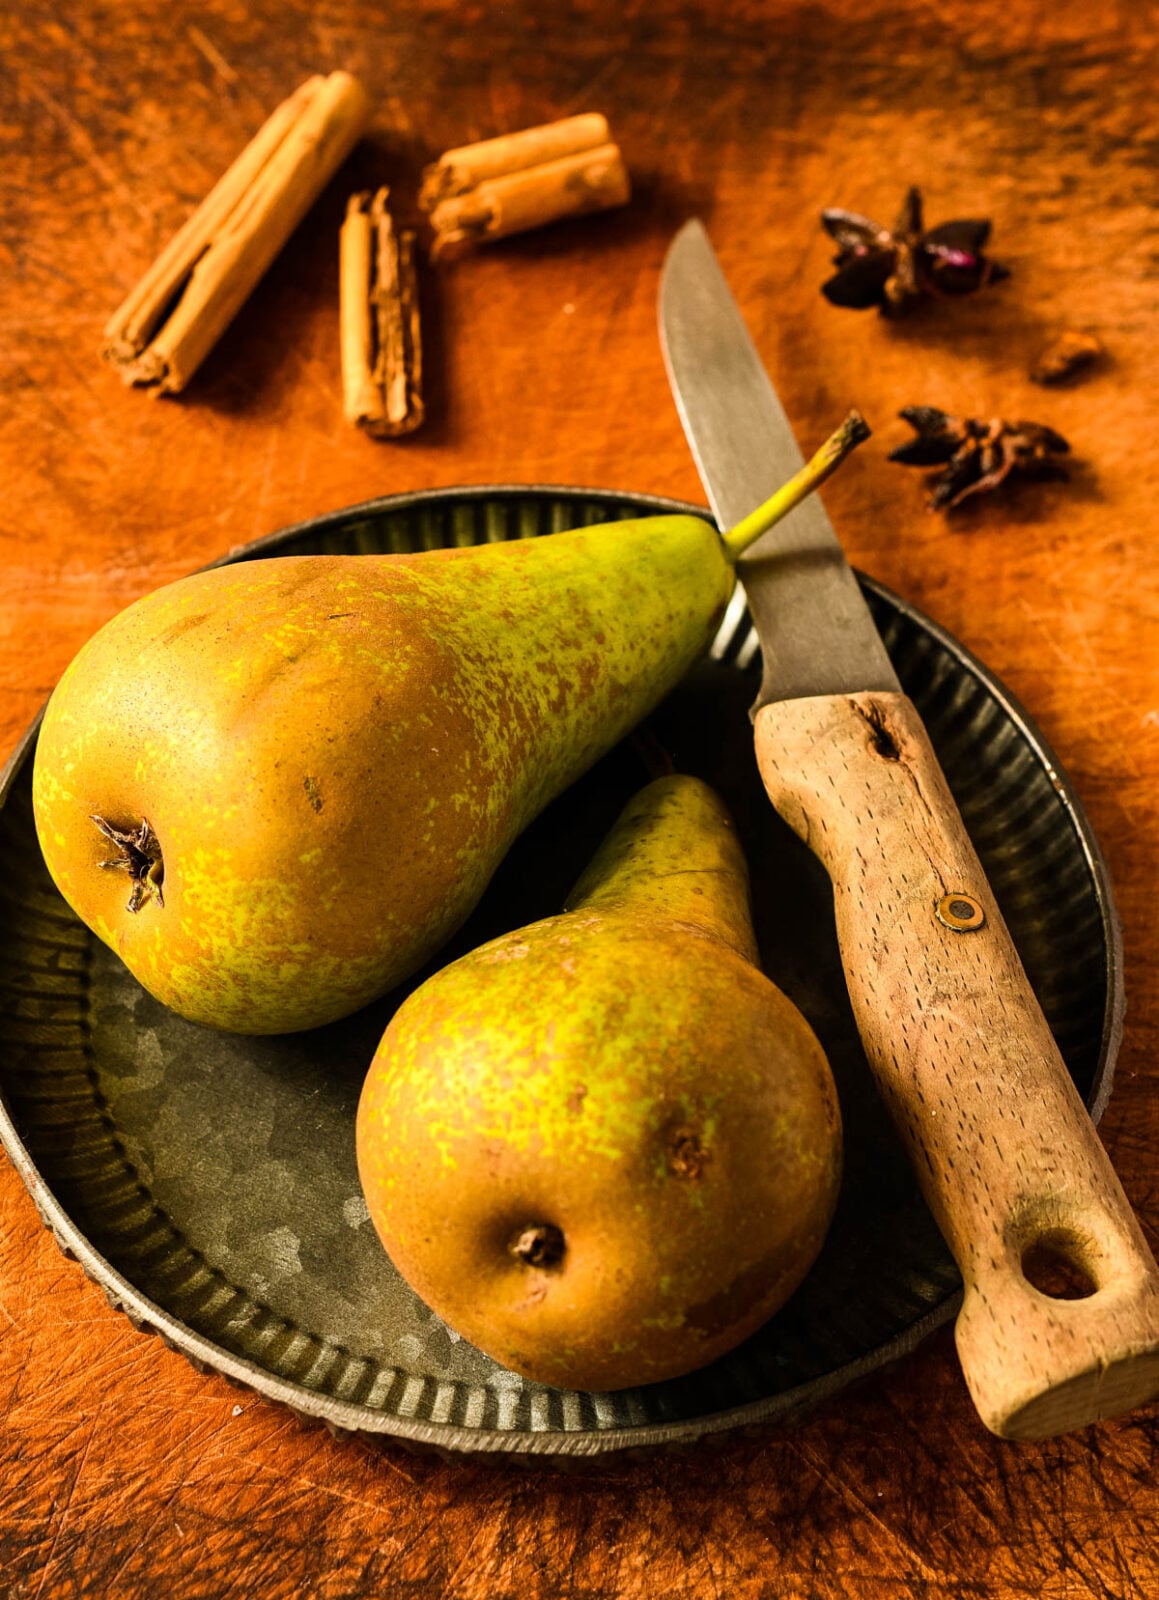
Pears – use any pears you like to make this simple chutney. There are a wide variety of pears out there and they all have their own distinct flavours so just go with your favourite.
Sugar – I use light brown sugar for my pear chutney. It doesn’t have as rich and caramel-like a flavour as dark brown sugar which would overpower the pears.
Spices – Don’t go overboard on your spices here, you want those pears to sing. I’ve just used cinnamon, vanilla and cloves. They all come together beautifully and have a warming depth without being too spicy.
The complete list of ingredients and full instructions for making this recipe can be found on the printable recipe card at the bottom of this post.
How to make pear chutney
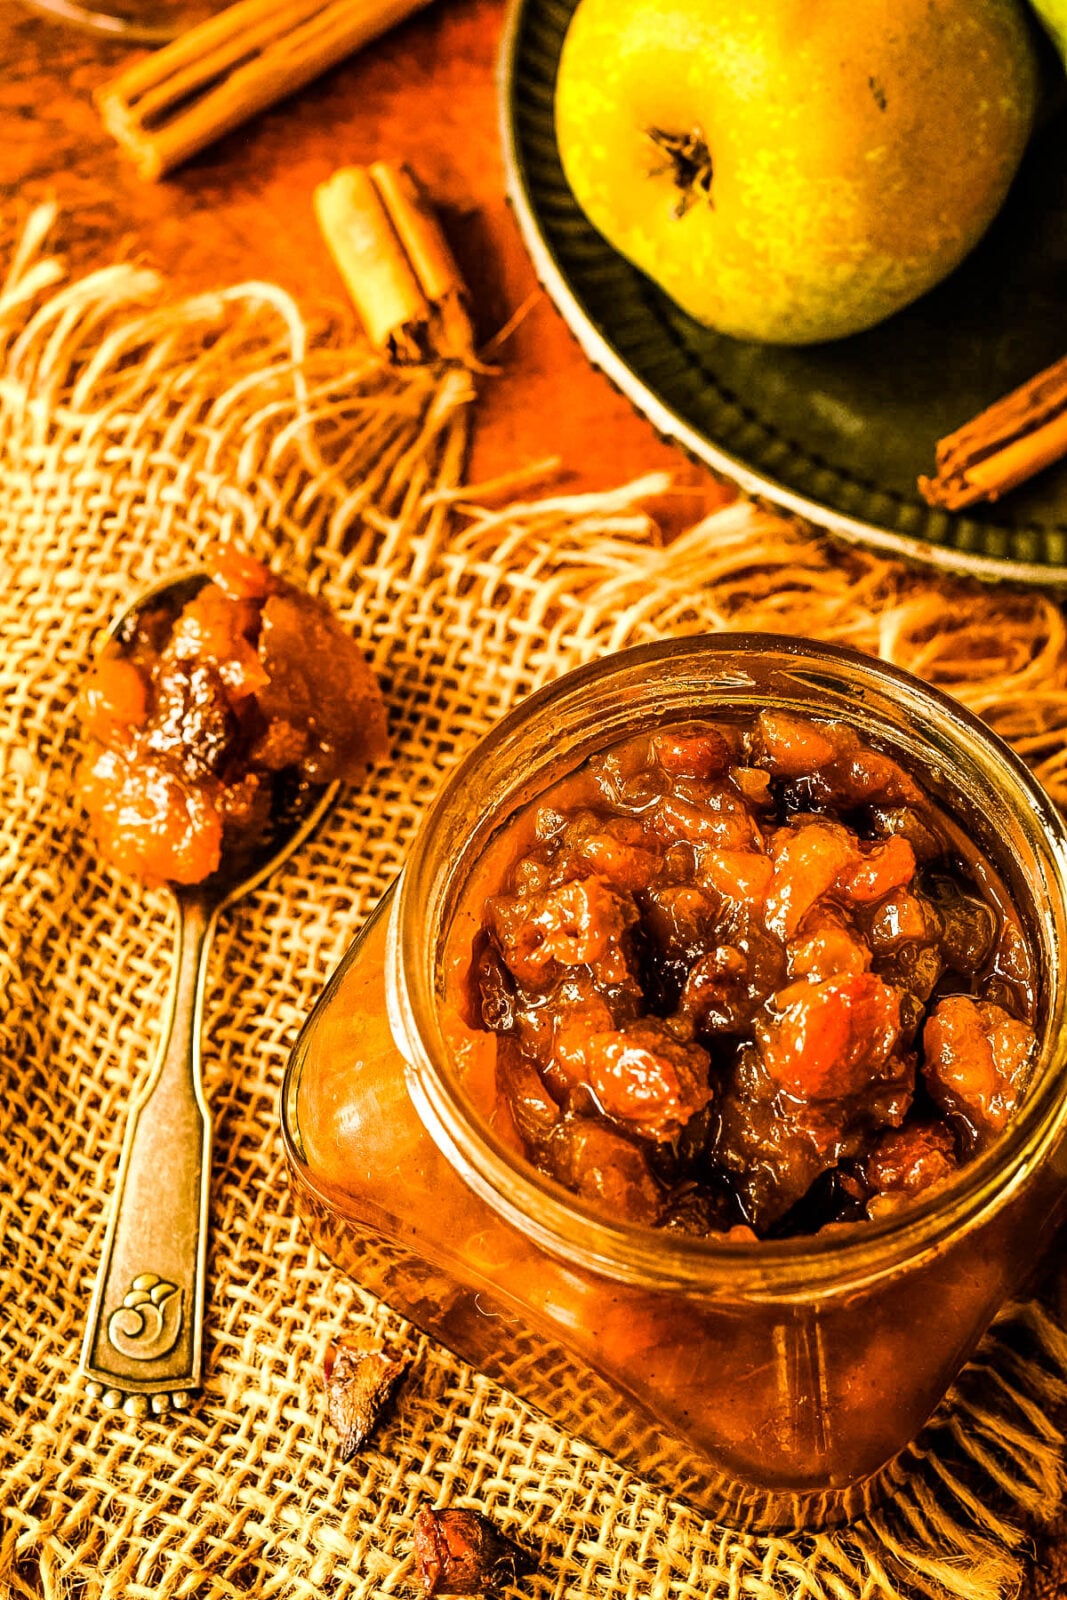
This pear chutney is super easy to make, it is really just a case of peeling, coring and chopping the pears, chopping the onion and just chucking everything into your pot and off you go.
Heat gently at first to let the sugar dissolve then bring up the heat to a boil and then lower it a bit so the chutney is just bubbling away quite happily.
Now let it simmer there for about 50 minutes while you clear up the kitchen, have a cup of coffee of whatever.
How do you know when your chutney is ready?
You’ll know when your pear chutney is ready when you can drag your wooden spoon along the bottom of the pan and it leaves a clear trail before the chutney fills it in again.
Then it is simply a case of carefully ladling your pear chutney into sterilised jars. Check out my post on how to sterilise jars.
Do you have to mature chutney?
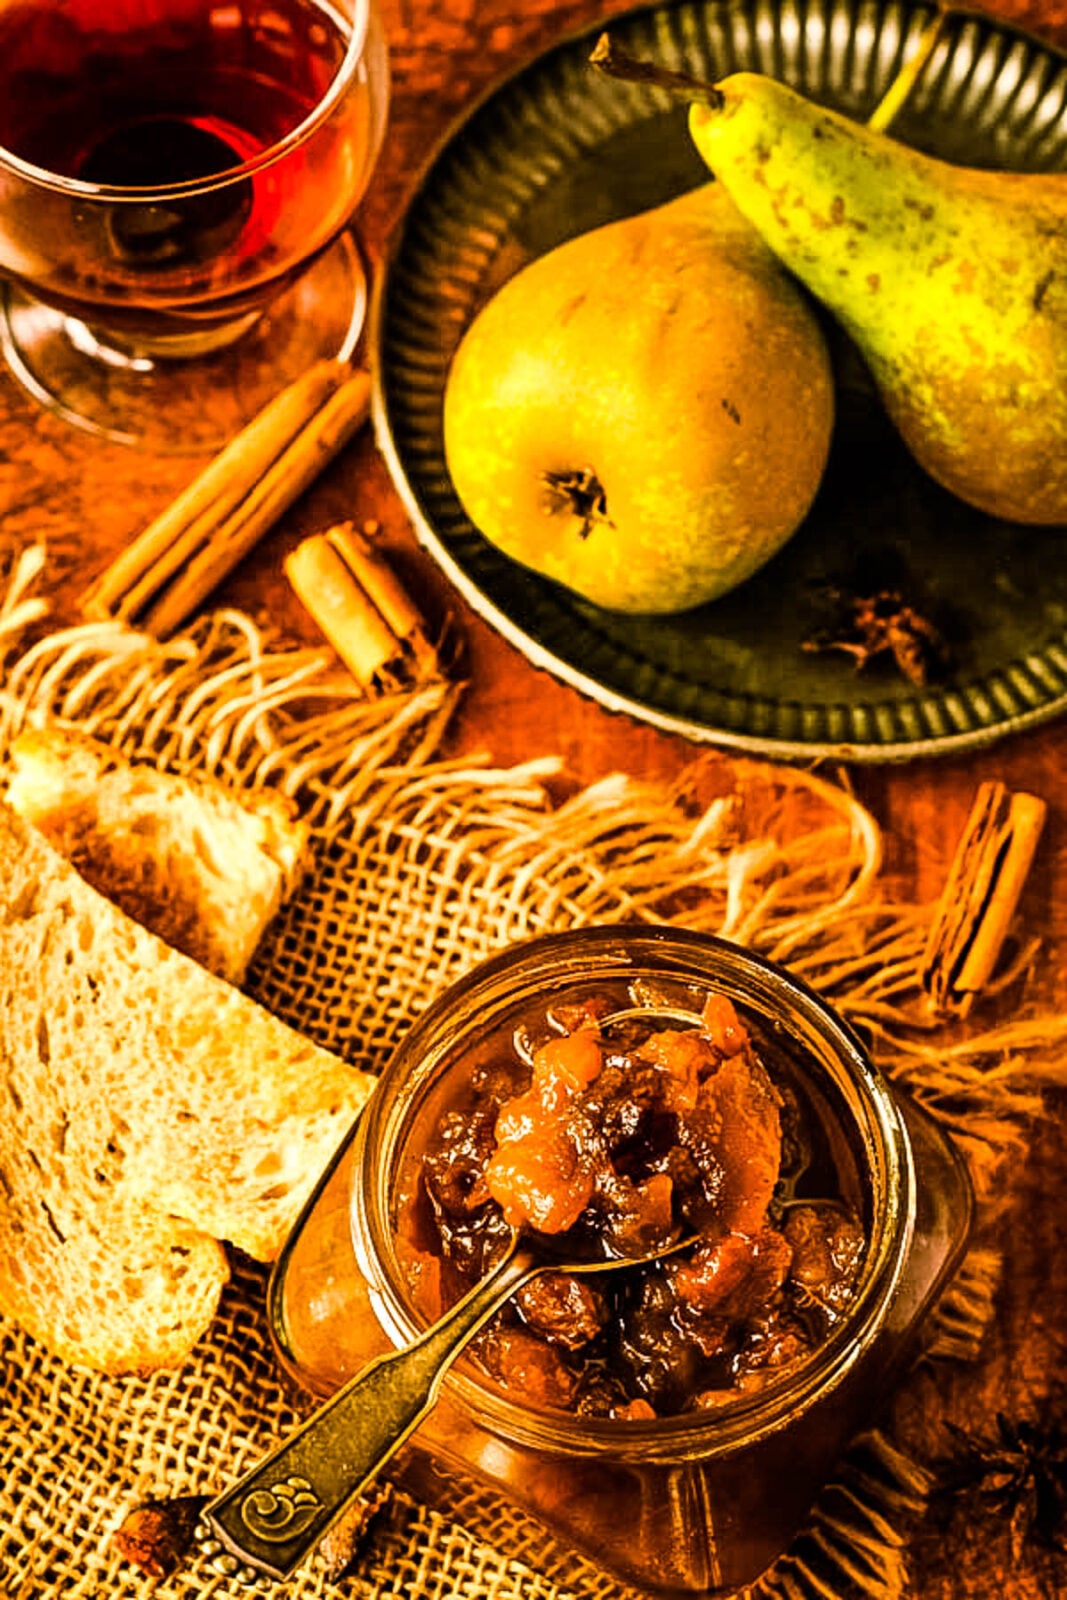
Yes, leave this pear chutney for a month before using it. This allows the sharpness of the vinegar to soften and all those wonderful flavours to really mix together and develop into a perfect rich and flavourful whole.
How much does this make?
I got 2 x 350mg jars of chutney from this recipe.
How long does it keep?
Your pear chutney will keep for up to a year in a cool cupboard. Once opened store it in the fridge and use within a month.
How to serve pear chutney
You can serve this chutney alongside everything from roasts to curries, it is great in sandwiches and wraps, with burgers and of course a cheeseboard too.
Oh, and don’t forget that grilled cheese sandwich, your spiced pear chutney will be perfect for that.

Looking for more great recipes using pears? Then check these out before you go;
Finally, if you do try this recipe don’t forget to leave a comment/star rating below as I just love to hear from readers. Want more Larder Love? Then follow me on Instagram, Facebook, and Pinterest and sign up for my newsletter too of course.
Spiced Pear Chutney
Ingredients
- 750 g pears
- 160 g light brown sugar
- 300 ml cider vinegar
- 1 lemon juice and zest
- 1/4 tsp ground cinnamon
- 1/4 tsp ground cloves
- 1/4 tsp salt
- 1/4 tsp vanilla extract
- 100 g golden sultanas
Instructions
- Peel and core the pears and chop into pieces about 1cm and chop the onion into small pieces
- Put these into a preserving pan and add all the other ingredients and heat gently to dissolve the sugar. Bring to the boil then lower heat a little and let the chutney bubble gently for about 50 minutes till it has cooked through.
- Carefully ladle the spiced pear chutney into sterilised jars and set aside for a month to mature before using